Cleaning things up
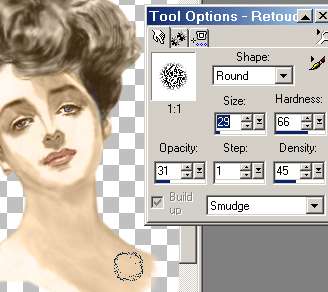
There is one thing I have resisted putting in this tutorial because it is so hard to explain and has the possibility of ruining your painting very quickly. It is, however, something I always do so I will just say that if you want to try it be careful. I use the Smudge tool on low Opacity, 100 Density and low Hardness to push the shadows and edges around until they look correct. I often use this instead of softening anything first but it takes patience to learn how to do it without losing the original shape. |
The next thing is to get a transparent layer under your picture.
Duplicate the layer. (Layers/Duplicate)  Click off the visibility of lower layer |
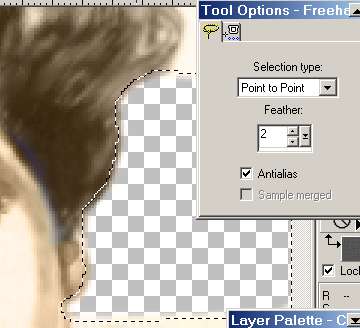 |
| Using the 'Lasso' tool as shown remove the background of the picture. If you use the 'Point to point' setting you can move it in small moves around the edge of the figure smoothing out fuzzy parts. Take out reasonable size pieces at a time by making a line to the edge of the page and right clicking. once you have the "marching ants" around the piece you want removed press 'Delete' on your keyboard twice. |
 |
One last thing to do if you have an edge which needs to fade out as the bottom of this sketch.
With the retouch tool set to Smudge as above drag the raw edges of the picture off the edge to feather it and make it look like a painting would. |
 |
On the Layer palette highlight the background layer to make it current and floodfill with White
|
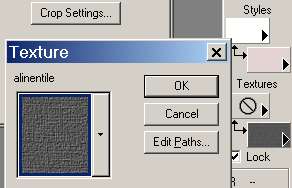 |
Choose a nice background color and your favourite texture and floodfill with it over the white. |
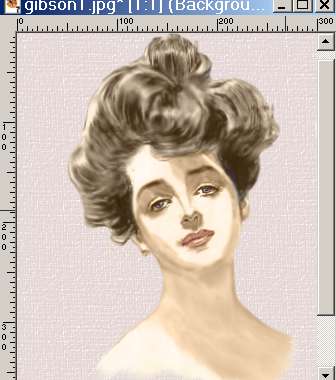 |
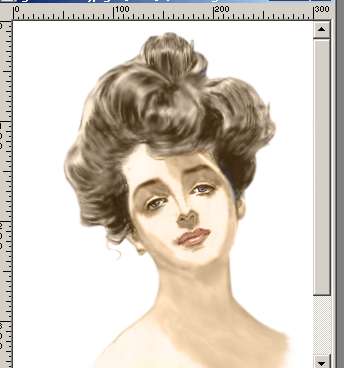
You now have a finished painting which can be used seamlessly on your web page if you use the same background or of coarse it can be framed.
|